Introduction
Wiring your speakers to a 3.5 mm jack is a straightforward task that can enhance your audio experience without the hassle of dealing with multiple cables or connectors. Whether you’ve got a pair of old speakers lying around or you want to make your new setup more versatile, wiring them to a 3.5 mm jack can offer greater flexibility. In this comprehensive guide, we’ll walk you through the entire process step by step. We’ll cover everything from the materials you need to troubleshooting common issues. Let’s get started.
Materials and Tools Needed
Before diving into the wiring process, it’s essential to gather all the necessary materials and tools. Ensuring you have everything on hand will make the process smoother and more efficient.
Materials:
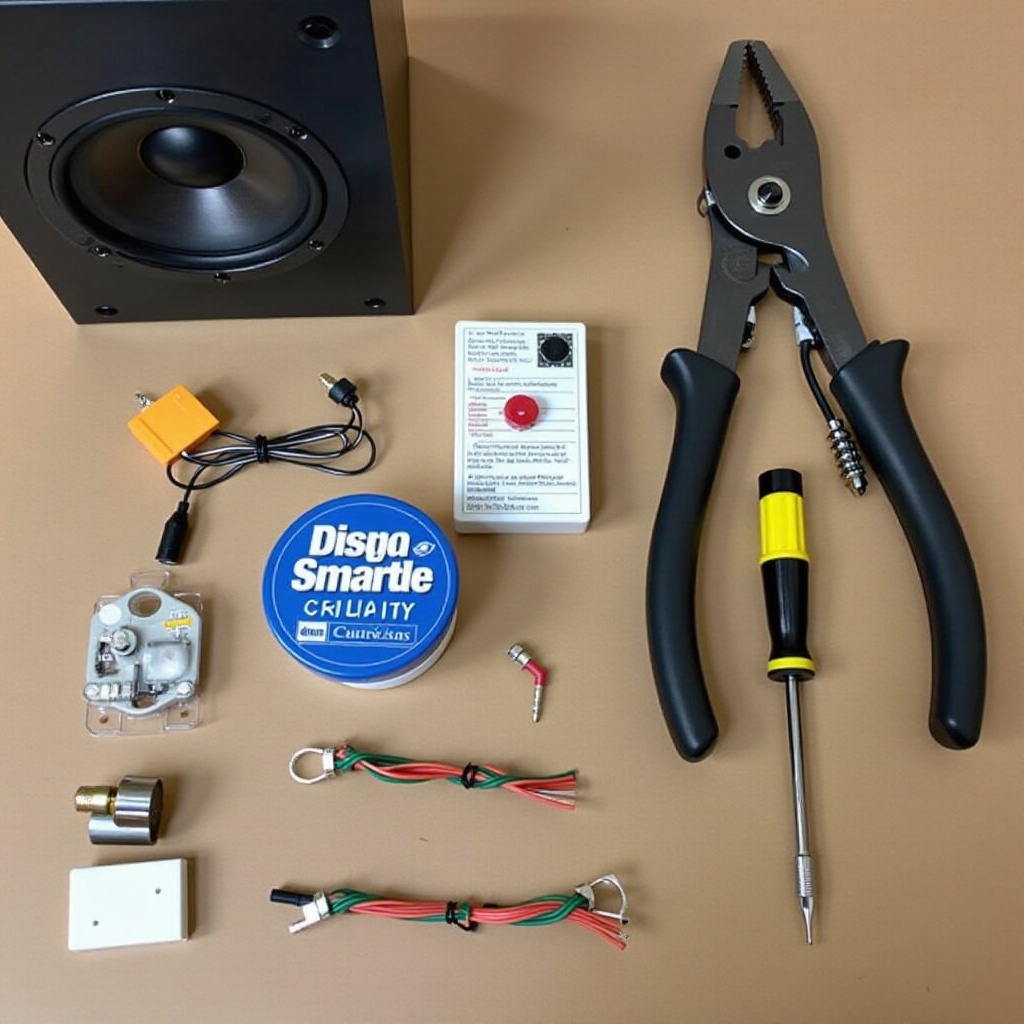
1. 3.5 mm stereo jack (available at electronic stores or online)
2. Speaker wires
3. Electrical tape or heat shrink tubing (for insulation)
Tools:
1. Wire stripper
2. Small screwdriver
3. Soldering iron and solder (optional but recommended for a secure connection)
4. Multimeter (optional, for testing connectivity)
Having these items ready will save you time and help you avoid the frustration of stopping midway through the process to fetch a missing tool. Now that you are prepared with all the materials and tools, let’s create an organized workspace.
Preparing Your Workspace
Creating a safe and organized workspace is crucial for this project. Ensuring you have room to work without distractions or hazards is key.
- Choose a well-lit area: Good lighting helps you see the small details while working with wires and the 3.5 mm jack.
- Clear the surface: Remove any clutter to ensure you have enough space to lay out your tools and materials.
- Safety first: If using a soldering iron, work in a well-ventilated area to avoid inhaling any fumes. Always follow safety guidelines to prevent burns or injuries.
With your workspace prepared, we can move on to the next step: stripping and preparing the wires.
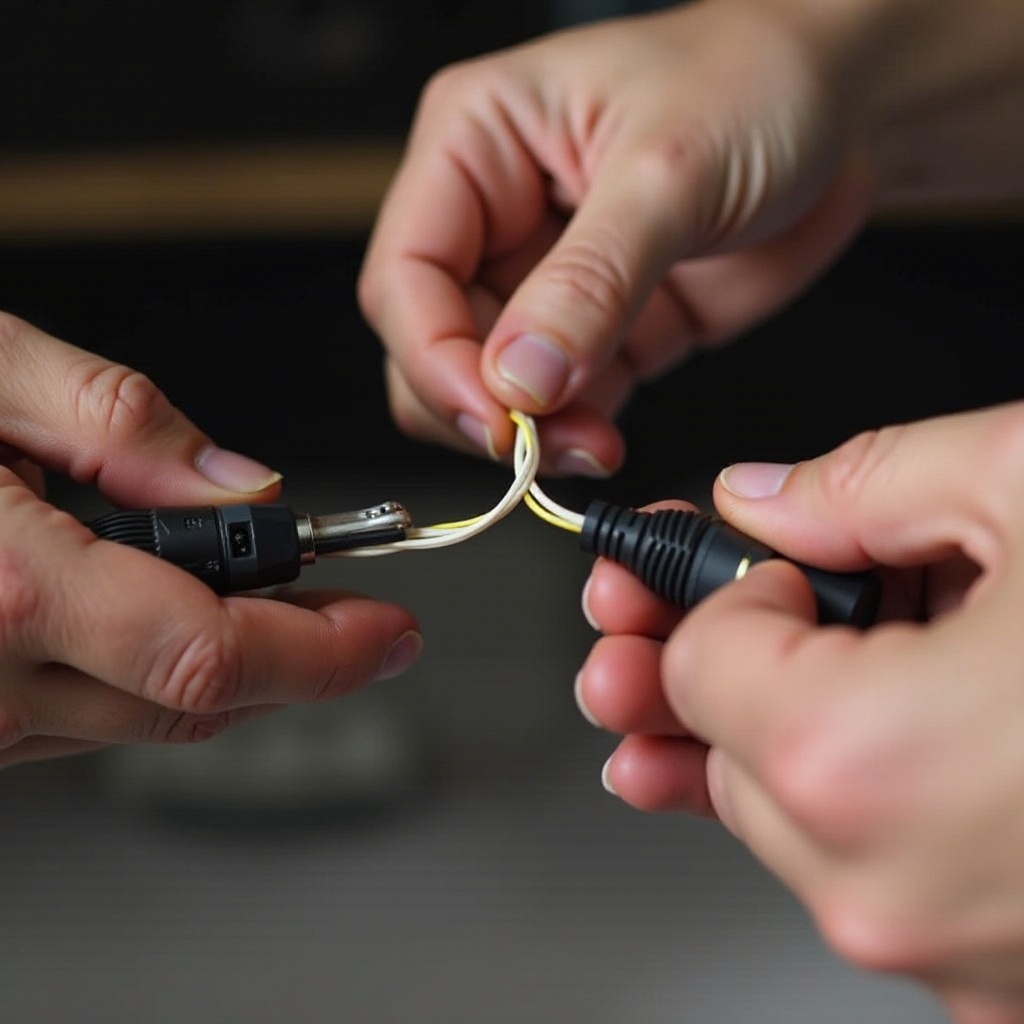
Strip and Prepare the Wires
Properly stripping and preparing your speaker wires is essential for a good connection.
- Measure and cut the wire: Cut the speaker wire to the desired length, ensuring you have a bit of extra length for convenience.
- Remove the outer insulation: Use the wire stripper to gently remove about an inch of the outer insulation from both ends of the wire. Be careful not to cut into the actual wire strands.
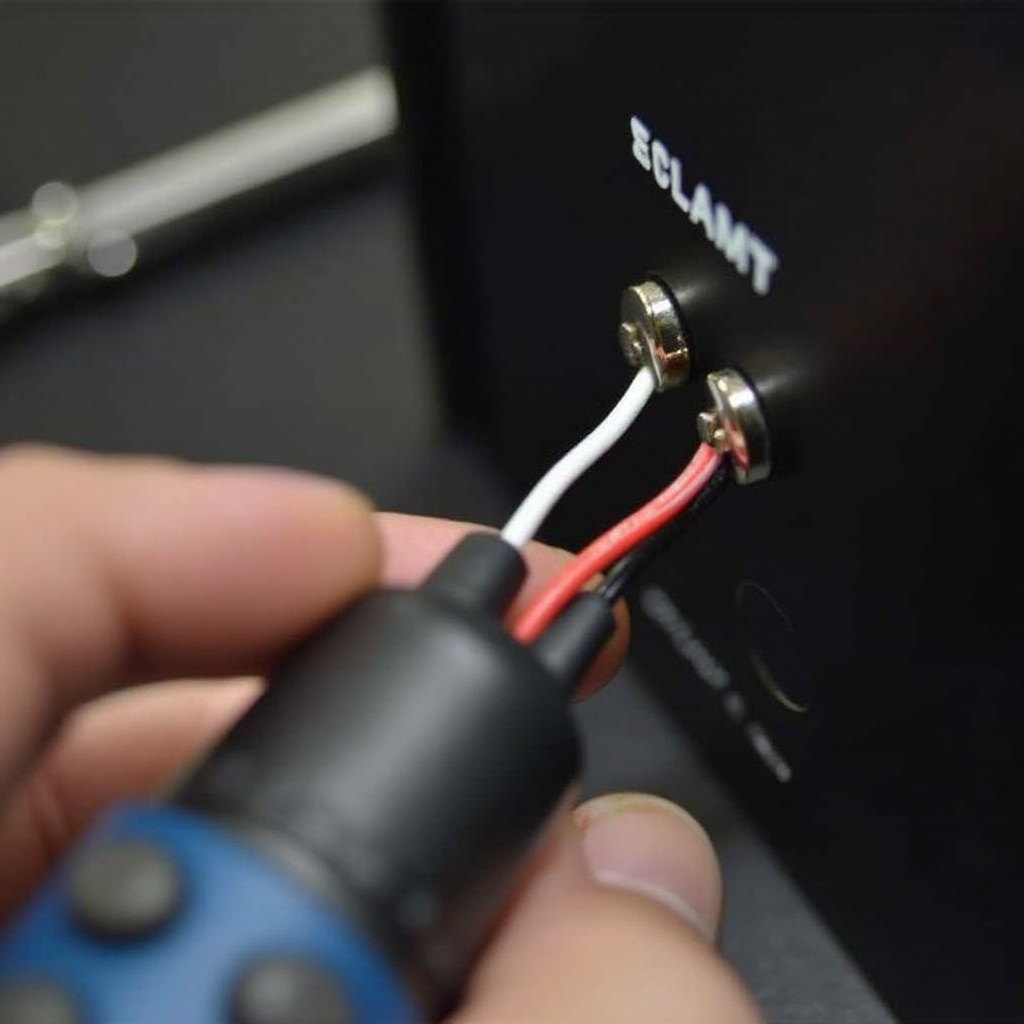
- Separate individual wires: Within the stripped section, you’ll see two wires (usually a black and a red one or sometimes with colors like white and green). Separate them carefully.
- Strip the inner insulation: Strip about half an inch of insulation off the ends of each of these wires. Again, ensure you don’t cut into the wire strands themselves. Twist the strands together to keep them neat and prevent fraying.
Prepared wires will ensure a secure and clean attachment to your 3.5 mm jack. Now, let’s proceed to attaching the wires.
Attaching the Wires to the 3.5 mm Jack
Attaching your prepared wires to the 3.5 mm jack is where the real magic happens. Follow these detailed instructions for an efficient process:
- Open the 3.5 mm jack: Many jacks will come with a casing that you can unscrew to expose the terminals where the wires must be attached.
- Identify the terminals: A 3.5 mm stereo jack usually has three terminals – the ground, the left audio, and the right audio. The ground is typically the longest terminal.
- Connect the ground wire: First, connect the ground wire (often the black or copper wire) to the terminal designated for the ground. You can use the small screwdriver to loosen the terminal, insert the wire, and then tighten it.
- Connect the left audio wire: Attach the left audio wire (commonly the tip connection) to the left terminal. Follow the same process of loosening, inserting, and tightening the terminal.
- Connect the right audio wire: Finally, attach the right audio wire (commonly the ring connection) to the right terminal.
- Optional – Solder the connections: If you have a soldering iron, apply a small amount of solder to each terminal to enhance the strength and reliability of your connections.
- Insulate the connections: Using electrical tape or heat shrink tubing, carefully insulate each terminal connection to prevent any short circuits.
After completing the connections, reassemble the 3.5 mm jack casing. Now, it’s time to test your newly wired setup.
Testing Your Connection
Testing your connection ensures that everything is working correctly before putting your setup to daily use.
- Plug in the jack: Connect the 3.5 mm jack to a compatible audio source, such as a smartphone, computer, or audio player.
- Power the speakers: Ensure your speakers are powered on or connected to a power source.
- Play some audio: Select an audio file, song, or video and play it.
- Check for sound: Listen to the audio output from the speakers. Ensure the sound is clear and both left and right channels are functioning correctly.
If everything sounds good, your speakers are successfully wired. But what if there are issues?
Troubleshooting Common Issues
It’s not uncommon to encounter some problems during the initial run. Here’s how to address common issues:
- No sound from speakers: Double-check all connections. Ensure the wires are securely attached to the correct terminals.
- Distorted sound: This may be due to poor connections. Reinspect and, if necessary, resolder the wires for a more secure connection.
- Only one speaker working: Verify that both the left and right audio wires are connected correctly to their respective terminals.
With the ability to troubleshoot these issues, you should have your audio setup running smoothly.
Conclusion
Wiring your speakers to a 3.5 mm jack can enhance your audio setup’s versatility and compatibility. By following this comprehensive guide, you’ve learned how to gather materials, prepare your workspace, strip and prepare the wires, attach them to the jack, test your connections, and troubleshoot common issues.
Enjoy the improved flexibility and functionality of your audio system.
Frequently Asked Questions
What should I do if my speakers aren’t producing sound after wiring them to a 3.5 mm jack?
Check all connections to ensure wires are securely attached to the correct terminals. Testing with a multimeter can also help identify continuity issues.
Can I use a 3.5 mm jack to connect multiple speakers?
Yes, but you will need to consider the impedance and power requirements. Using a splitter or amplifier can help distribute audio appropriately.
Is soldering necessary for attaching wires to a 3.5 mm jack?
While not mandatory, soldering provides a more secure and reliable connection, which helps in preventing connection failures over time.